Showing posts with label Basting. Show all posts

Friday, December 9, 2011

Tree Skirts a Plenty

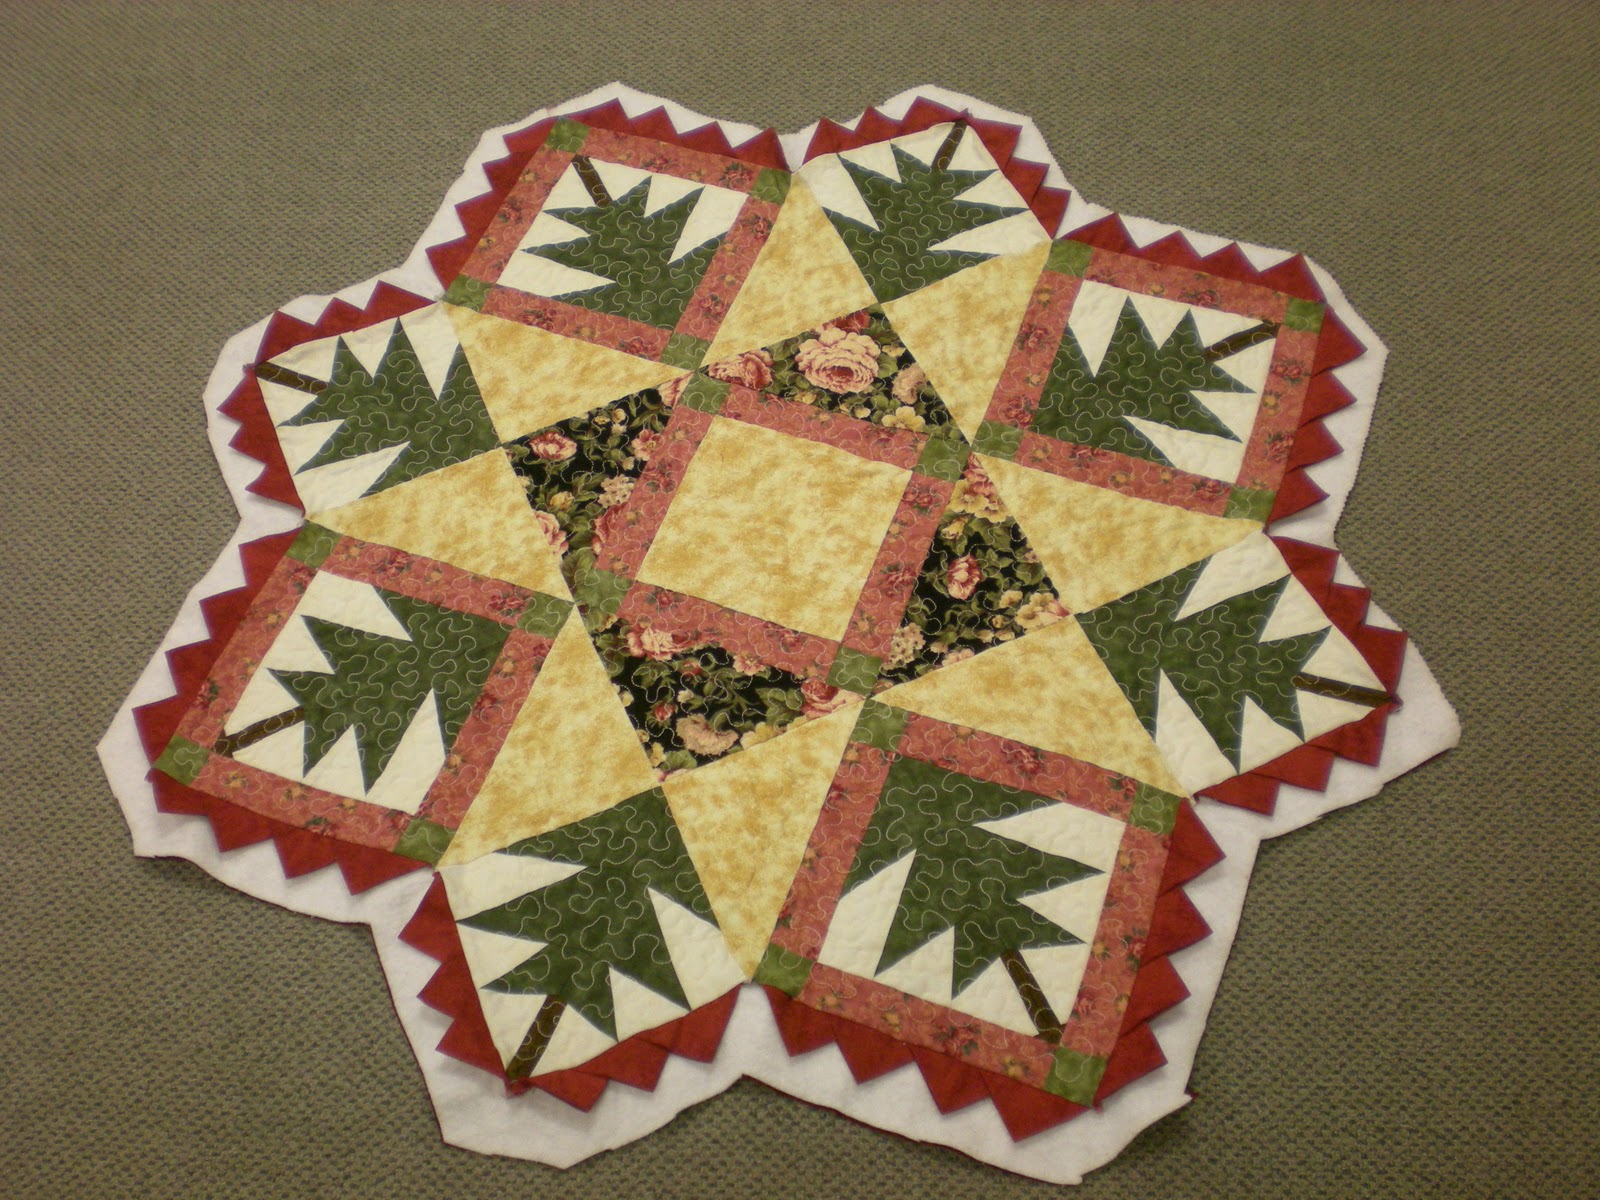
There is nothing that can put me more into the holiday quilting spirit than quilting multiple Christmas tree skirts... which is exactly what I did. Back in early October, I joined a quilting class being held after work on Thursday evenings. The task at hand, Forever Green Christmas Tree Skirts! I will start by saying that almost everyone in the class, excluding myself and the "teacher", was a beginner quilter. Some had never touched a sewing machine, thread a bobbin, ironed a seam or heard of a scant quarter inch... that didn't stop the fun!
This was quite an advanced project for such quilting newbies, but aside from the under-the-breath muttering, deep sighs, seam ripping, redoing, and numerous expletives, they really did tackle it like champs! I will start by noting that this is the most difficult thing I've ever made by a long shot, which may lead you to two conclusions: A. this was difficult and B. I'm apparently not one to step out of my comfort zone!
This tree skirt had multiple triangles (not my strength), A LOT of tedious paper-piecing (a first for me), some complex assembly (lots of little corners to match up), prairie points (quite difficult on the inside corners) and some pretty intense hand stitching along the back in order to bind the quilt. Despite the many hurdles and late nights, most of the skirts are mostly complete with the exception of a few (but honestly, as time-consuming as this project was, who could blame them?)
After the majority of the quilt was completed I began to help everyone with the second half of quilting, the most laborious part. I assisted in the assembly, cut, ironed and sewed on many a prairie point, basted to my back's discontent, and quilted every last one of them! There were 9 ladies participating in this quilting event and in the last week or two I have quilted 7 tree skirts, talk about an all time high for my poor Kenmore (also note the lack of finished projects in the last two weeks, this would be the culprit!)
So although I do not have pictures of all of them, and of the pictures I do have most of them are in a slightly uncompleted stage, I still wanted to share these beauties with you! At the end of the day, I am very proud of every single one of these ladies and their momentous accomplishment. They each deserve a pat on the back; this was not an easy task.
Simone's:

Laura's:

Sherry's:

Nancy's:

Sara's (note this quilt was quilted with a red, green and gold variegated thread):

Joan's (my mother):

and Mine:

Each Tree Skirt turned out very unique and diverse despite the uniform pattern that was used. Fabric selection gave each quilt a slightly different edge and a beautiful, distinctive finished creation!

Note to Readers: None of these tree skirts are being used as tree skirts! At the end of the day, no one could face cutting through them and creating a slice down the center and a large hole in the middle of their magnificent work of art! But don't worry, I think they make perfectly lovely Table Toppers!

Thursday, November 17, 2011

Thursday = Quilting Day

This morning, Liam woke me up bright and early, we played for an hour and I thought about my day. Today is a Quilting Day! Every Thursday I attend a "Quilting Class" or "Quilting Get-Together" with a few of the women from work. At 4:00pm, we set up our machines on large tables downstairs, spread out, someone makes a meal, sometimes we drink some wine, we laugh (sometimes silently curse) and quilt. I run home and bring Liam back with me (my mother and I trade off quilting with playing) and we have a great time. We rarely filter out of there before 7:30.
We are all currently working on Tree Skirts for Christmas! Tonight I am demoing how to baste and machine quilt since I finally added my prairie points. I brought as many quilts as I could find, plenty of spare batting and old fabric for practice. Many of the women are first time quilters so this should be a lot of fun and quite a bit frustrating at times. I have offered to quilt anyones' tree skirt who doesn't feel up to the task, it is a daunting one! I will check back sometime soon to give you the full run down!
In the interim... Please go check out my long-time friend Lauren's blog Craft My Life Away! Tuesday was her 1 year Blogiversary and she is offering a fabulous giveaway in commemoration! Lauren and I met in college and both studied accounting, you could say great minds think alike. She has always been an avid crafter and amazing knitter. I did however introduce her into the world of quilting, and she has been an unstoppable force ever since!

Tuesday, October 19, 2010

Quilting Update

I have been quite productive lately. I was in another wedding two weeks ago...
And I have found time to quilt. I am currently working on a quilt in the beginning stages, just barely cut and sewn together, still in need of lots of ironing, assembling and a proper back.
This quilt will eventually be ANOTHER baby quilt. It will be a zig zag quilt with no triangles, my favorite type. I have come to realize that all of my friends are either getting married or having a baby, and it seems to be happening all at once. I suppose I will just keep going on my baby quilt extravaganza, after this one I don't believe there's another one in my near future, not that I know of at least!
I love zig zag quilts, they are so quick and a great scrap reducer!I also have a Christmas quilt in process that has been basted and is waiting to be quilted. I haven't decided the type of quilting I am going to use yet.And lastly, there is another quilt top hiding in my spare bedroom that is completely assembled and in need of some serious ironing and a VERY large quilt back. This quilt has been in process for over three years!!! It will be such a relief to finally be finished.
These are the only quilts in my quilting queue and it feels like quite a bit. Then I look at all of your WIPs and boy do they look overwhelming. I'm not even sure I could have more than 4-5 quilts in process, I get too excited. I find that I need to finish them immediately OR someone gets married or pops out a baby and I'm rushing to meet the impending deadline.

Either way, I can't wait to start another quilt, but only one. I don't think I'm ready for a WIP list 20 items long! Not yet at least.

Sunday, August 22, 2010

Basting Tutorial

One of the most important and labor intensive steps in creating a quilt is the basting process. Although your quilting could very well not turn out perfect regardless, without a properly basted quilt, it definitely will not be what you had hoped for.

Basting is the process of aligning the top, bottom and middle (batting) of a quilt together so the quilt can be "quilted". (This entire process can be ignored if you will be sending your quilt to a long-arm quilter - lucky you!)

The first step in basting is to select the appropriate materials:

1. Quilt Top - All seams should be ironed to one side or open. The quilt top should be square and should be even enough to lay flat.

2. Quilt Back - If your Quilt Back is pieced (i.e. not a solid piece of fabric) you should iron your seams as you did with the quilt top and consider marking the center of each side of the quilt back and front with a pin. This will allow you to match up the top and bottom and ensure the piecing doesn't turn out crooked. If this is your first time basting, this technique might also help you put the quilt together straight. Your Quilt Back should be about 2 to 4 inches bigger on each side than the Quilt Front.

3. Quilt Middle (Batting) - As I use only 100% cotton fabrics in my quilts I also prefer to use 100% cotton batting. My batting of choice is Warm and White. When I first started quilting I used a polyester fill which I later found out was better suited for hand quilting. Although the quilts I made turned out just fine, there were puckers in the back and it was absolutely more difficult to work with. Your batting should be about the same size as your Quilt Back, maybe slightly smaller so you can see all of the layers when they are stacked in the quilt sandwich.

4. Basting Pins - Although average safety pins will work just fine, they make special curved pins especially for basting and boy do they work! Depending on the size of the quilt anywhere from 200-300 safety pins should suffice.
5. Crochet Needle or similar instrument - This is used to close the safety pins. Laugh now, but after 200 or so pins your fingers will become quite sore and you will wish you had listened.
6. Packing Tape - To hold the Quilt Back securely in place some people use masking, duct, electrical or painters tape. Use what you are most comfortable with or what you have on hand.
7. A spot to baste on (tile, linoleum, cement, hard surface) - Ideally this space should be large enough for the entire quilt. Basting half a quilt at a time is not only difficult but could also lead to inaccuracies or a mismatched Quilt Back. Be careful if you're working on a linoleum floor as the pins could dig into the floor. I don't mention wood in my list of approved surfaces because I just wouldn't want to put pin holes in your expensive wood floor. As I progress I find I don't hit the floor very often. As a beginner, I really scraped to get through the three layers. I suggest tile if available.
And we begin:

Lay out your Quilt Back on the floor good side facing down. Pulling the Quilt Back tight but not stretching the fabric tape down the corners. I typically will put 1-3 pieces of tape on the sides of the quilt as well so it lays perfectly flat.
Next, lay the batting on top of the Quilt Back. Smooth out any ripples starting in the center moving towards the outside edges. This is my favorite thing about cotton batting, it will lay perfectly smooth.
Next center you Quilt Top on top of the batting good side facing up. Match up the center pins now if you used them. Smooth out any ripples again starting with the center of the quilt moving to the outside.
As you will notice my batting is not as large as my Quilt Back and is barely as large as my Quilt Top. Do as I say, not as I do! This was leftover batting and it just happened to be the right size, just barely!

If you used any light colored fabric in your quilt, then now would be the time to make sure you can't see any loose dark threads through the light fabric. If you can, lift up that portion of the Quilt Top and remove it. Once you baste the quilt it becomes more difficult.
Next I start on one corner of the quilt and make my way around the quilt. I put a safety pin about every 4" making sure to go through all three layers of the quilt sandwich. I stagger the pins to create more coverage. Remember to keep in mind the type of quilting you will be doing. If you will be quilting near the seams put the pins in the center of the blocks. The more pins, the more stable your quilt sandwich, too many pins and you may have a difficult time finding a free spot to quilt.
In addition, I always put pins around the outside of the quilt, you don't want the excess fabric getting in the way.
Once complete, stand back and admire your handiwork. You might even consider a back massage or hot bath, this is far more work than it appears. Once fully rested, rip up that tape and begin quilting!

Friday, August 6, 2010

I've Been Busy

I've been busy cutting, ironing and sewing, and therefore I have not been diligent about posting my progress. I don't think I've mentioned it, but when I quilt I am deep in thought. Sometimes, I don't even do anything but sit, make notes on a piece of paper, and contemplate my finished product.


There is a lot of math calculations and planning that goes into a quilt, it's not all fabric and fun. I mean it is to me, but to the outsider looking in; it's difficult!
In the picture above there is a lot of planning, cutting, staring and thinking going on.

And finally, the less difficult part of quilting begins, after all the pieces are cut!Here is another quilt that has been taking up my time. I started it about a month ago when I saw this post.
I had the colors all picked out for a few months, ever since I bought that patterned center fabric. It's one of those inspirational fabrics that makes you want to design a quilt around it. And lucky me, Amandajean already had, in the exact color scheme I was looking for.


And as I begin to baste, Pepe takes a seat to watch.

Tuesday, July 13, 2010

Nautical Stripe

I finished up the binding for this quilt in the car on the way to the shower. That's what I love about small baby quilts, they take no time at all and the binding is a breeze. The couple I made this for just had a baby last month and according to their registry, they are using a nautical theme for the baby's room! Nautical Stripe measures 42" x 52" and is the perfect size for a stroller, car trip or to pack in a diaper bag!
I couldn't help myself, I had to make the back with pretty baby fabric, you only get to use it so often. I'd say this quilt is reversible, nautical when in the bedroom then flip it over for some fun baby colors!
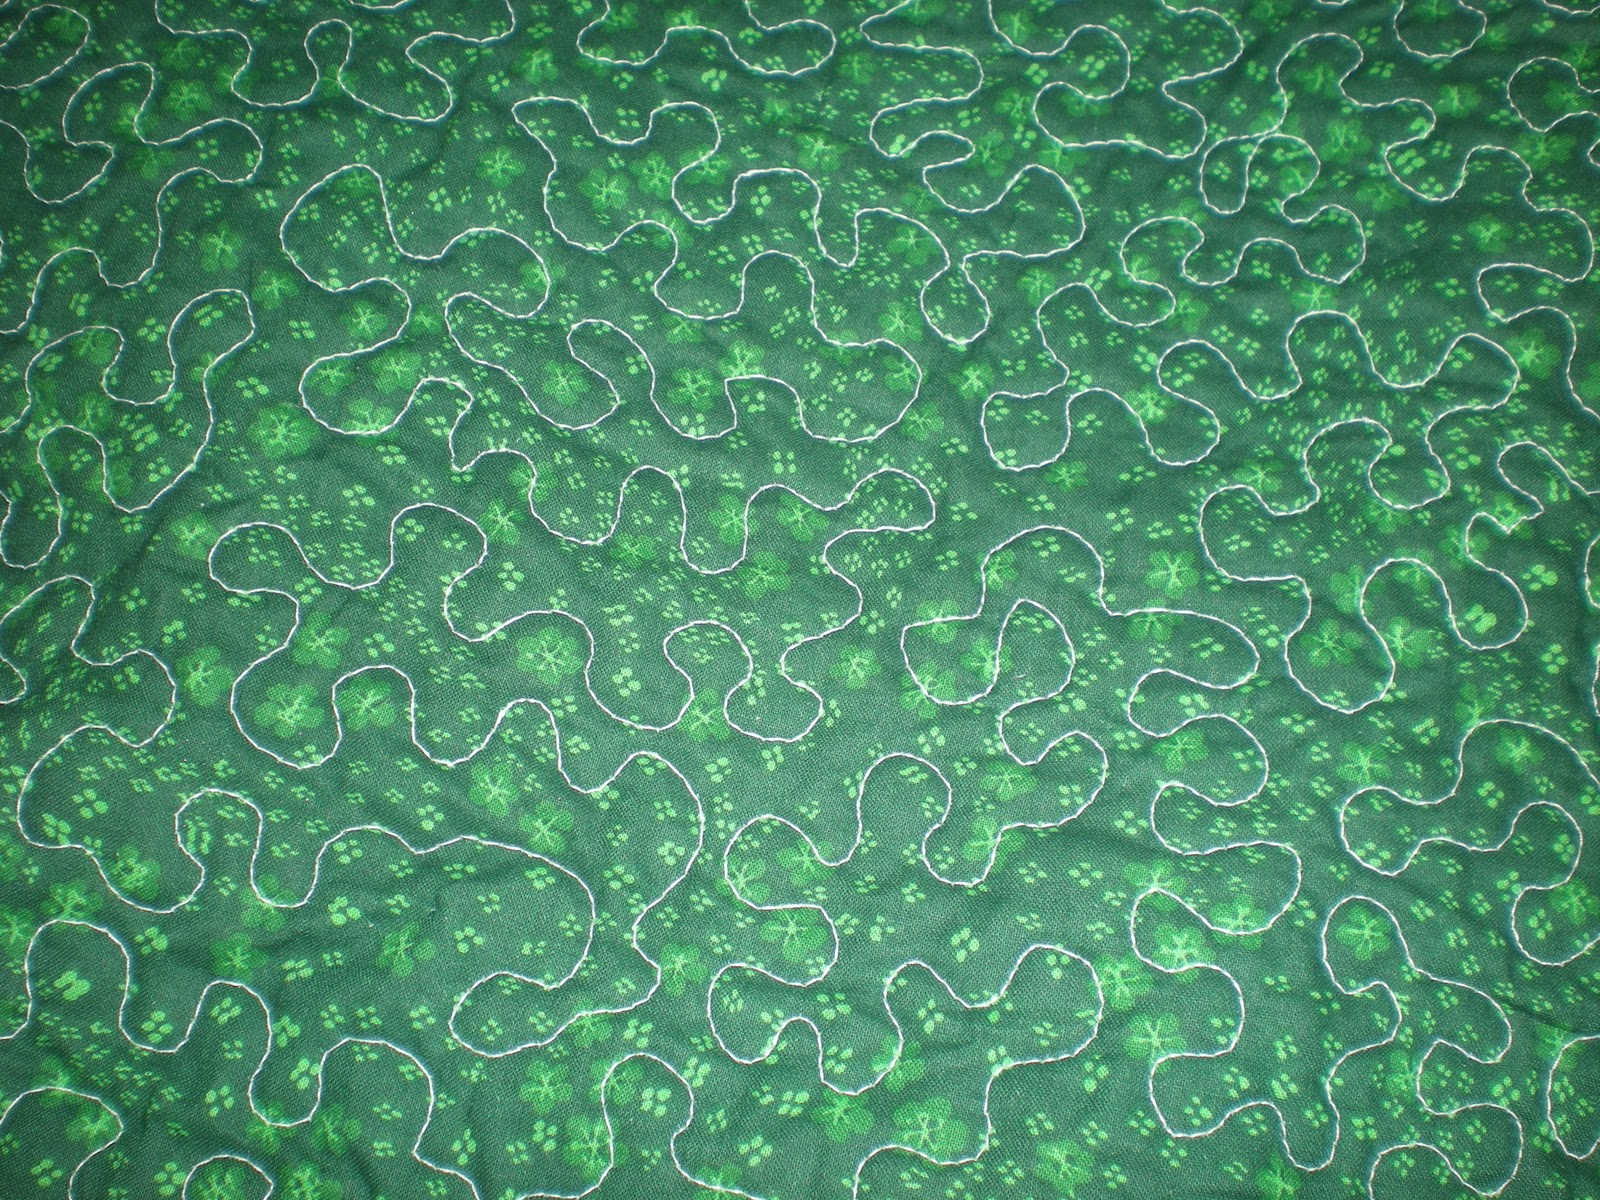
For the quilting I used a back and forth stipple I will call the "wave stipple". I like how the quilting looks on the strips, this is one of my more favorite quilting techniques.
And a close up of the back! Yes between all the adorable elephants, turtles, giraffes, lions, kittens, chicks and blocks the fabric does say "cute as a button!"
I believe I am going to send this quilt out some time this week! As the recipients are the relatives of some very close friends, I am still waiting on the address! Below is a picture of the quilting process, quilt is basted and waiting for me to flip the switch on my sewing machine and start quilting. Again I used A LOT of safety pins for basting, it really does make quilting that much easier! (I bet next you're going to ask where we eat, as I'm obviously quilting on the dining room table! My husband often asks that same question, one of the joys of living in an apartment!)
I have a few more quilts in the works but haven't been that motivated lately to really dig in and start my next big project. I think I'm deadline driven, I find it so much easier to dedicate my time to a quilt when a deadline is fast approaching. I think that's because I can put it in front of exercise, cleaning or cooking if it "has to get done soon!" Perhaps I'll start on a few more of the baby quilts I have in my quilting queue! Talk about a solid deadline!

Thursday, July 8, 2010

Kermit

My first "Film Strip" quilt finished, and it is beautiful! I love the vibrant colors and little Kermit displays, for the first time EVER I wouldn't change A THING about this quilt, I think it's perfect. I hope my nephew enjoys sleeping under it as much as I enjoyed making it.

As I haven't gone home to my parents in a while, I was forced to baste this quilt on my kitchen floor. As you can see, my kitchen floor is rather small and therefore difficult to baste a Full size quilt so I had to baste half of it at a time. This is the second half:
I used 390 saftey pins on this quilt, more even than the King quilt and I LOVED it. It made the quilting process soooooo easy and I would do it again in a heartbeat!
As you can see I used a different stipple technique for this quilt. I'm not sure what its technical name is so we'll go with the "loop" stipple. This might be my favorite kind of stippling, I also used it for the quilt "Sunny Day".
This quilt is so vibrant, it's bound to be a perfect birthday gift for a three year-old.
I LOVE the back and binding too! It was just so much fun!
This quilt measures 88''x64'' and should fit a Full bed quite nicely. After I took the pictures I washed and dried the quilt creating lots of puckery goodness! Both "Kermit" and "Frames" are wrapped and packed and will be delivered to their recipients this weekend. Wish me luck!